
How to Use Kimi K3: A Practical Step-by-Step Guide (Web, App & API)
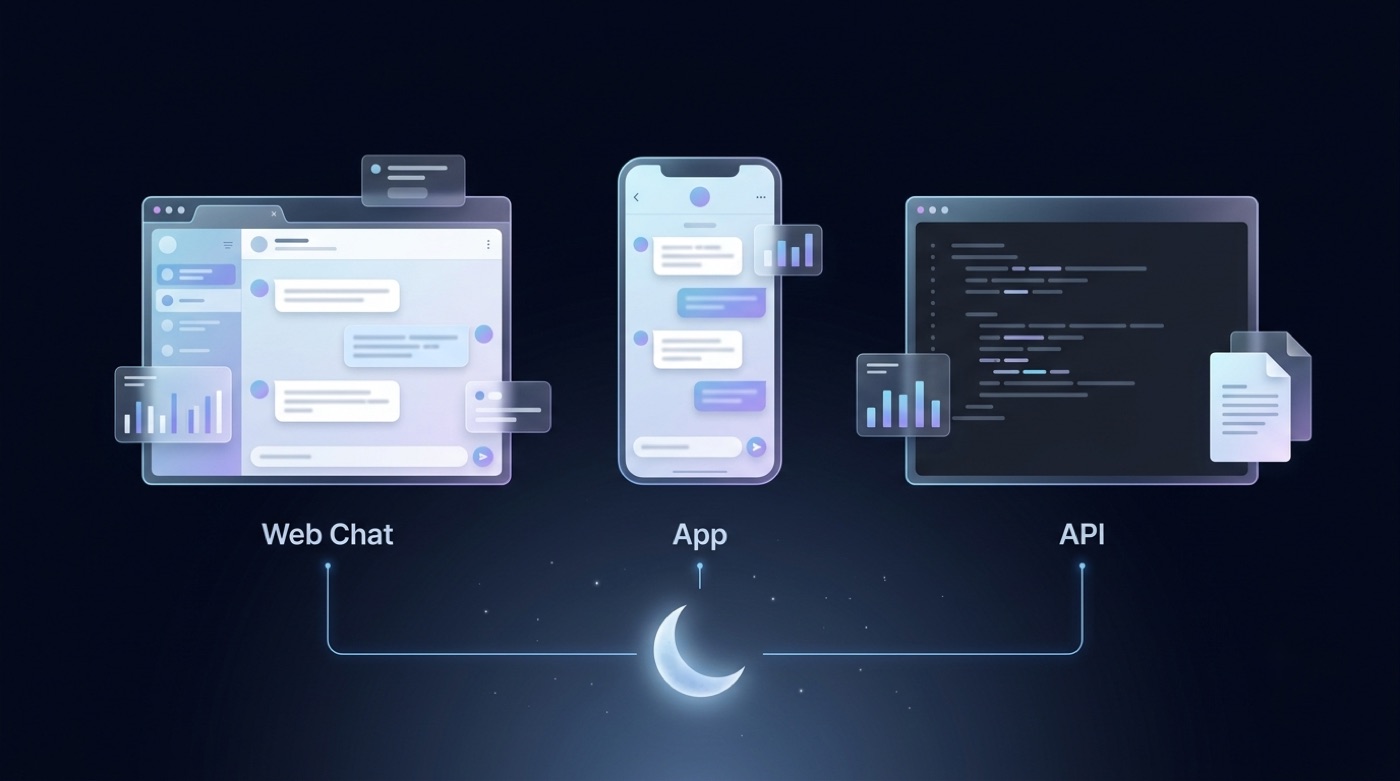
Getting started with Kimi K3 takes minutes: you can chat with it for free in a browser, install a mobile or desktop app, or wire it into your own code through an OpenAI-compatible API. Which route you pick depends on whether you just want answers or need to build something on top of the model.
Kimi K3 is Moonshot AI’s newest open-weight model in the Kimi family, the successor to Kimi K2, and it’s built specifically for agentic coding and long-document knowledge work.
kimik3.pro is an unofficial free chat and reference and is not affiliated with, authorized by, or endorsed by Moonshot AI.
What Is Kimi K3?
Before picking a way to use it, it helps to know what Kimi K3 actually is. It’s the latest large language model from Moonshot AI, a Beijing-based AI lab, and it sits inside a fast-moving product line that started as a simple chatbot and grew into a full agentic platform.
Kimi K3 in one paragraph
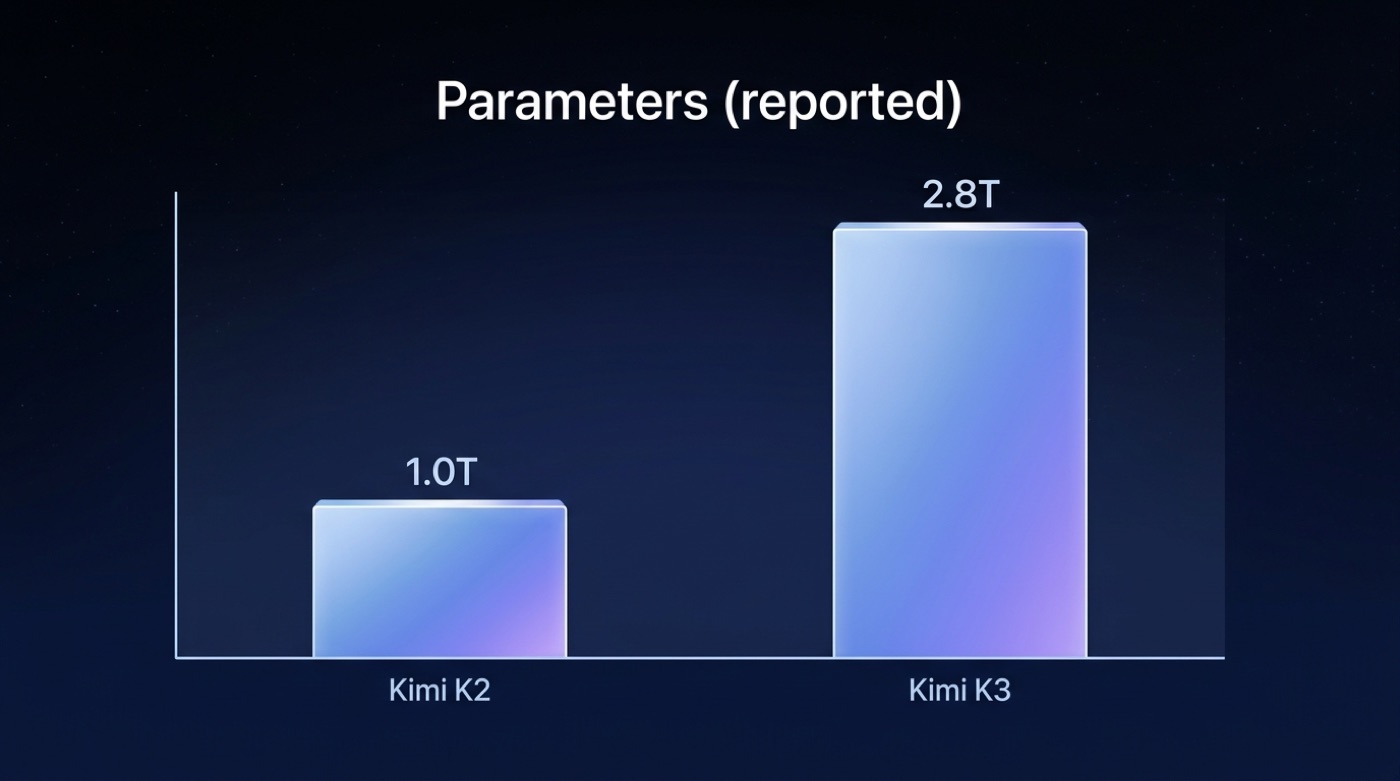
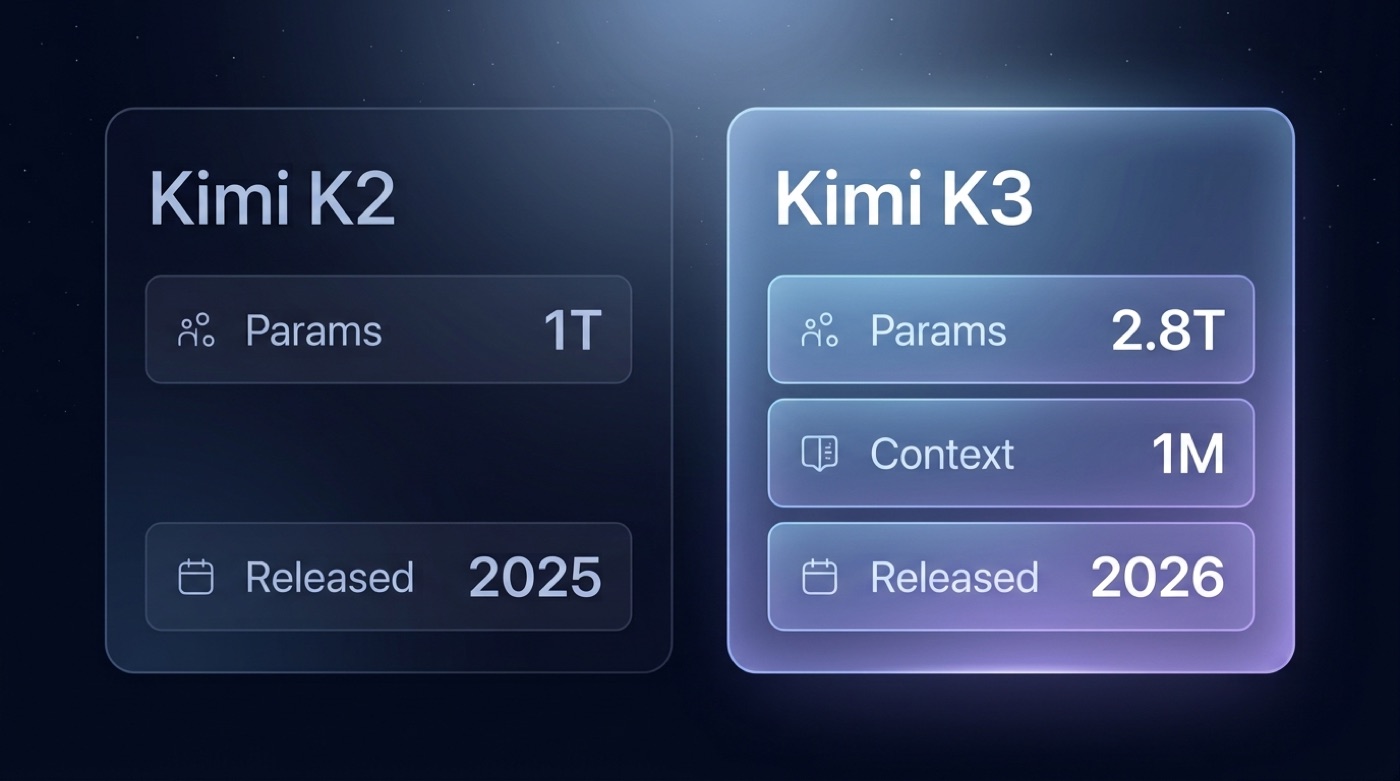
Kimi K3 is the newest large language model from Moonshot AI, launched in July 2026. It’s an open-weight Mixture-of-Experts (MoE) model — reported at around 2.8 trillion parameters — released under a modified MIT license, and it succeeds Kimi K2, which shipped in July 2025 with 1 trillion total parameters and 32 billion active per inference token. According to Wikipedia’s entry on Moonshot AI, “In July 2026, Moonshot released Kimi K3, the first open model to reach 2.8 trillion parameters.” That parameter count is the figure reported and announced across sources, not an independently verified benchmark score, so treat it as a headline spec rather than a leaderboard result.
The Kimi model family (K2 → K3)
Moonshot AI’s Kimi lineage moved fast — from a conversational chatbot to two generations of open-weight MoE models in under three years.
| Model | Released | Type | Notable trait |
|---|---|---|---|
| Kimi (chatbot) | October 2023 | Conversational assistant | First public Kimi product |
| Kimi K2 | July 2025 | MoE, open-source | 1T total / 32B active parameters, trained on 15.5T tokens |
| Kimi K3 | July 2026 | MoE, open-weight | ~2.8T parameters (reported), 1M-token context |
Way 1 — Use Kimi K3 in the Web Chat (Easiest)
The fastest way to try Kimi K3 needs no setup at all: Moonshot AI’s own web chat runs on the model by default, and it’s the same interface most people mean when they talk about “using Kimi.”
Step-by-step in the browser
- Go to kimi.com in any browser.
- Sign in or create a free account.
- Click New Chat (or press Ctrl+K) to start a fresh conversation.
- Type your question or task into the input box, which reads “Ask anything, or task an agent.”
- Optionally switch on thinking mode for harder reasoning problems, or attach files for it to read.
- Read the response, then follow up in the same thread to refine it.
That’s really the whole loop — read it, ask again, adjust. If you’d rather skip the sign-up step for a quick test, you can try Kimi K3 without creating a Moonshot account first.
Web, mobile and desktop
The chat interface isn’t limited to a browser tab. Kimi is also available as native apps for iOS, Android, and HarmonyOS, plus a desktop client, so the same account and conversation history follow you across devices. The web app itself frames the whole product around two use cases rather than generic chit-chat.
Built for Agentic Coding & Knowledge Work.
Kimi — official homepage tagline
That framing matters for how you should think about prompts: Kimi K3 is tuned as much for delegated, multi-step agent tasks as for straightforward question answering.
Way 2 — Use Kimi K3 via the API (for Developers)
If you’re building an app, script, or internal tool, the web chat won’t cut it — you’ll want the Moonshot API instead. It’s deliberately built to be a drop-in replacement for the OpenAI SDK, which means most existing OpenAI-based code needs only a base URL and model name change.
Get an API key and set it up
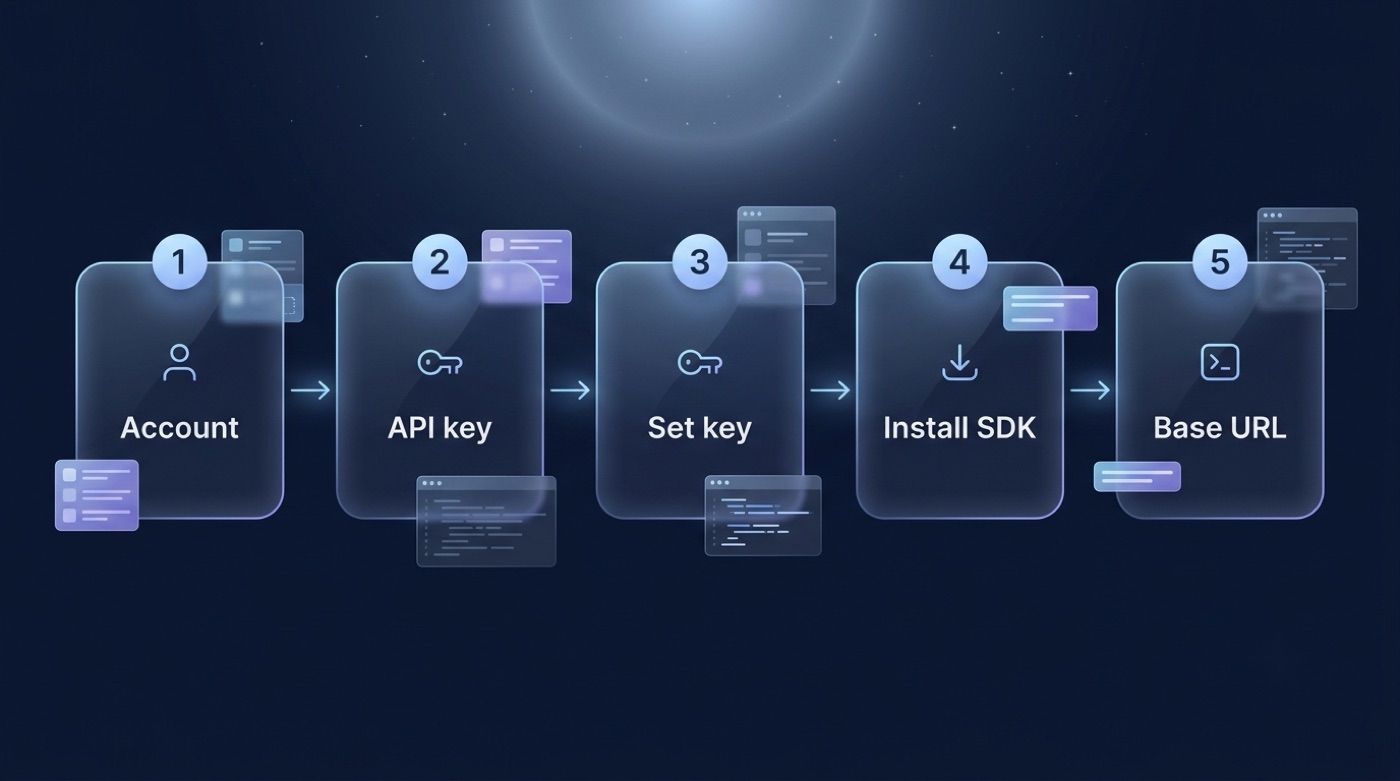
- Create a Moonshot developer account on the platform.
- Generate an API key from the developer dashboard.
- Export it as an environment variable named
MOONSHOT_API_KEY. - Install the SDK with
pip install "openai>=1.0"(Python 3.9+ required). - Point the client’s base URL at
https://api.moonshot.ai/v1.
Minimal Python example
Because the API mirrors the OpenAI client, the only real changes from a typical OpenAI script are the base URL, the API key variable, and the model string:
from openai import OpenAI

client = OpenAI(
    api_key="$MOONSHOT_API_KEY",
    base_url="https://api.moonshot.ai/v1",
)

response = client.chat.completions.create(
    model="kimi-k3",
    messages=[{"role": "user", "content": "Explain Mixture-of-Experts in two sentences."}],
)

print(response.choices[0].message.content)
The same call works as a raw HTTP request too:
curl https://api.moonshot.ai/v1/chat/completions \
  -H "Authorization: Bearer $MOONSHOT_API_KEY" \
  -H "Content-Type: application/json" \
  -d '{"model": "kimi-k3", "messages": [{"role": "user", "content": "Hello"}]}'
Because the API is OpenAI-compatible, tools and frameworks already wired for OpenAI’s client library generally work against Kimi K3 with just those two config changes.
Key API parameters
The official quickstart lays out the defaults you’ll actually touch when calling the model:
| Parameter | Value / default | Note |
|---|---|---|
| model | kimi-k3 | Model ID string used in every request |
| base_url | https://api.moonshot.ai/v1 | OpenAI-compatible endpoint |
| max_tokens | 131,072 default | Can be raised up to 1,048,576 |
| context window | 1,000,000 tokens | Includes automatic context caching |
| streaming | Supported | Standard OpenAI-style streaming |
| vision | Supported | Pass image inputs alongside text |
Per the Kimi K3 Quickstart on platform.kimi.ai, “The API is OpenAI-compatible: point the OpenAI SDK at base URL https://api.moonshot.ai/v1, authenticate with the MOONSHOT_API_KEY environment variable, and pass model=”kimi-k3″.” Advanced features on top of the basics include thinking mode, streaming, vision, and structured output, all documented in the same quickstart.
Way 3 — Use Kimi K3 for Coding (Kimi Code & Compatible Tools)
Point any OpenAI-compatible coding tool at Kimi K3. Because the Moonshot API speaks the same protocol as OpenAI’s, coding assistants like Claude Code, Codex, and Cline can be pointed at the kimi-k3 model ID and the Moonshot base URL without needing a separate integration built from scratch.
Or use the dedicated Kimi Code CLI. Kimi Code is Moonshot’s own terminal-based coding agent. Inside it, you select the active model with the /model command, which lets you switch between Kimi generations without leaving the session.
Start fresh when you switch models. Whether you’re using Kimi Code or a third-party tool, it’s worth starting a new session rather than continuing an old thread when you change models — this keeps context and cost predictable instead of mixing outputs from two different model generations in one history.
In Kimi Code and third-party CLIs
- Choose your tool: the Kimi Code CLI, or an OpenAI-compatible tool like Claude Code, Codex, or Cline.
- In Kimi Code, run
/modeland select K3. - In a third-party tool, configure its OpenAI-compatible settings with the Moonshot base URL and
kimi-k3model ID. - Start a new session before running your first task on the new model.
- Run your coding task — generation, refactor, or debugging — as you normally would.
Prompting Tips and Best Practices for Kimi K3
Kimi K3’s biggest practical advantage over a typical chat model is its 1M-token context window, which changes what “one prompt” can reasonably contain.
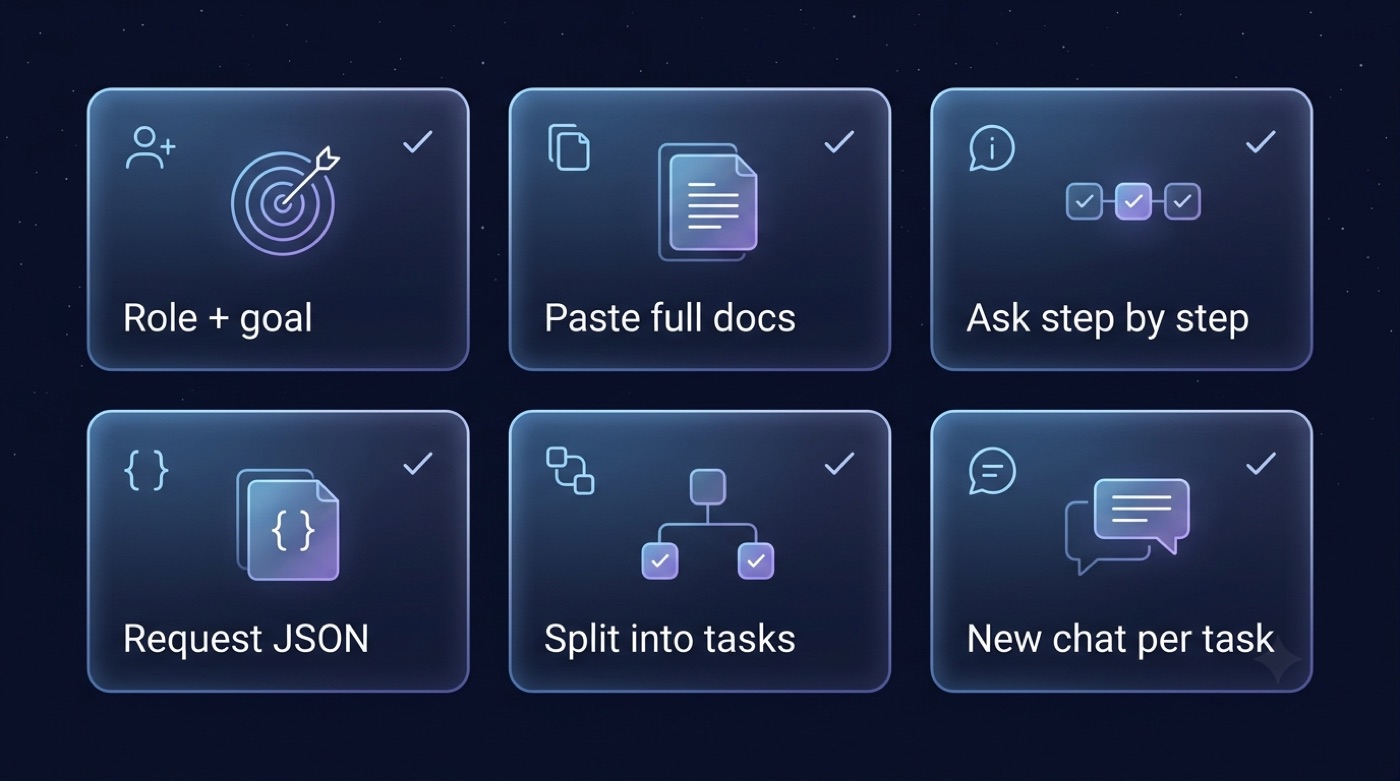
Prompts that work well
- State a role, a goal, and any constraints up front, rather than a bare question.
- Use the long context window to paste entire documents, codebases, or books instead of summarizing them yourself first.
- For hard reasoning problems, explicitly ask for step-by-step thinking or enable thinking mode.
- When integrating output into other software, request a structured format like JSON.
- Break large jobs into agent tasks instead of one giant prompt.
- Start a new chat per distinct task to keep context clean.
- Iterate with short follow-up prompts rather than rewriting the whole request.
- Be explicit about the output format you want — length, tone, or file structure.
Common Tasks You Can Do with Kimi K3
The same underlying model supports a fairly wide range of jobs, but which surface you use — chat or API — depends on whether the task is a one-off or something you want to automate.
Task table
| Task | How to do it in Kimi K3 | Which surface |
|---|---|---|
| Summarize a long PDF or codebase | Paste or attach the full document, leveraging the 1M-token context window | Web chat or API |
| Write or refactor code | Use Kimi Code, or an OpenAI-compatible tool pointed at kimi-k3 | Kimi Code / API |
| Run a multi-step agent task | Type into “Ask anything, or task an agent” in the web chat | Web chat |
| Analyze a screenshot or image | Attach the image; vision input is supported | Web chat or API |
| Extract structured data as JSON | Request structured output explicitly in the prompt | API |
Pricing, Limits and Free Access
What it costs
The web chat is the free, no-friction entry point — it’s where most people should start if they just want to ask questions or test the model before committing to anything. The API, by contrast, is billed on a flat pay-as-you-go basis per token, with separate rates for cache hits versus cache misses rather than tiered pricing by context length; check the official pricing page for current rates rather than relying on a fixed number here. Because Kimi K3 is released open-weight under a modified MIT license, self-hosting also becomes an option once the weights for a given release are available, which is a path unavailable with closed proprietary models. If you want the lowest-friction way to test it before touching billing or infrastructure at all, the Kimi K3 chat is the simplest starting point.